Households, schools and businesses can all vermicompost
USDA – Over one-third of all available food goes uneaten through loss or waste and vermicomposting, or worm composting, turns food scraps into a beneficial soil amendment that can be used in home gardens, landscaping, turfgrass, farms and more.
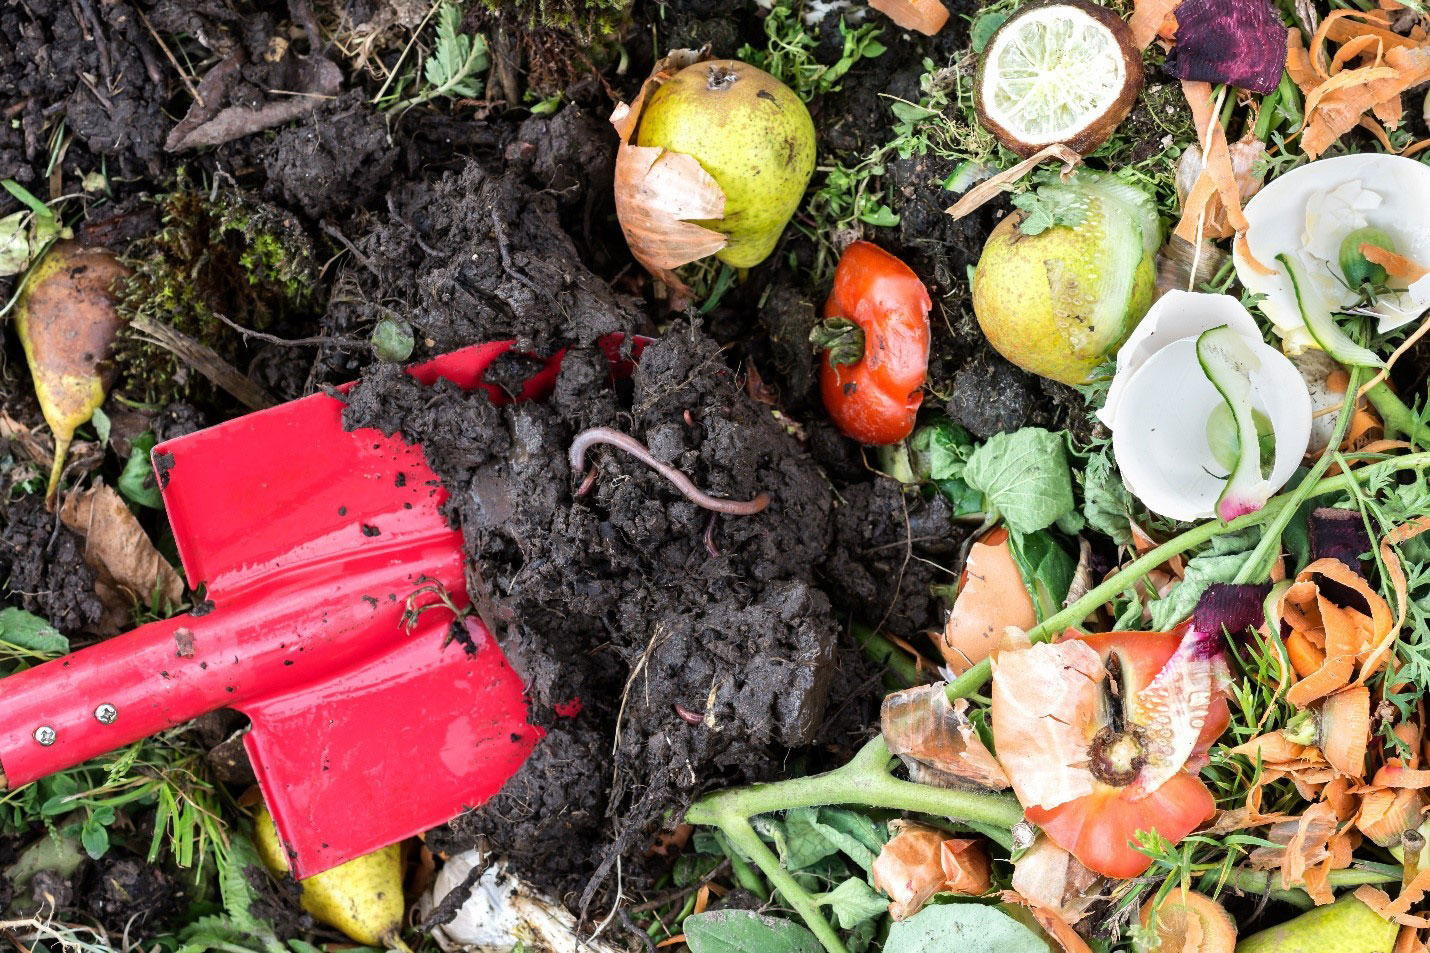
Composting keeps food waste out of landfills where it decomposes and releases methane, a potent greenhouse gas. Start vermicomposting by following these easy steps:
Select Container: Make your own bin from plastic or wood storage containers or purchase one. Worm bins require holes for aeration and drainage.
Bin Location: The temperature inside a worm bin should be 59-77 degrees F. During colder months, insulate an outdoor bin with blankets, straw, or other material to keep it warm.
Worm Bin Setup:
Create a bedding of shredded paper or dried leaves. Soak the material for ten minutes, wring out excess water, and place it in the bin with a handful of soil.
Add at least one pound of worms to your bin. Red wigglers are recommended. Do not use worms from a bait shop or your garden since they will not thrive in your bin.
Feed your worms vegetable and fruit scraps, coffee grounds, tea bags, and crushed eggshells. Avoid meat, fish, dairy products, citrus, twigs, and branches.
Harvest your vermicompost after about four months and use it immediately or store it for later use.